
Building a Second
Home
Having a solid home base in the outdoors allows you the flexibility to adventure all day and return back spent and ready for a comfy bed. We purchased a Ford Transit van with a partial build out and set ourselves an ambitious goal of building the van of our dreams in three months. Our priorities were a full bed, bike storage, working kitchen and enough gear storage. Let the building begin!

Day 1! The van was delivered from California ready to taken apart. The previous owner installed a roof rack, solar system, electronics, basic kitchen, and modular bed system.

The previous build out has some good reusable hardware, but to fit our needs we wanted to tear everything down to the studs and rebuild the inside.

I tore the build down to the walls to expose all the wiring and wall structure. This gave us a chance to contemplate layout, redo any sketchy wiring and melt down over the amount of work ahead of us.

With a wiring schematic, new 30 gallon water tank and repurposed kitchen in place, the fun of rebuilding could begin.

30 gallons of water conveniently placed over the rear wheel. Hello dishes, showers and endless drinking water!

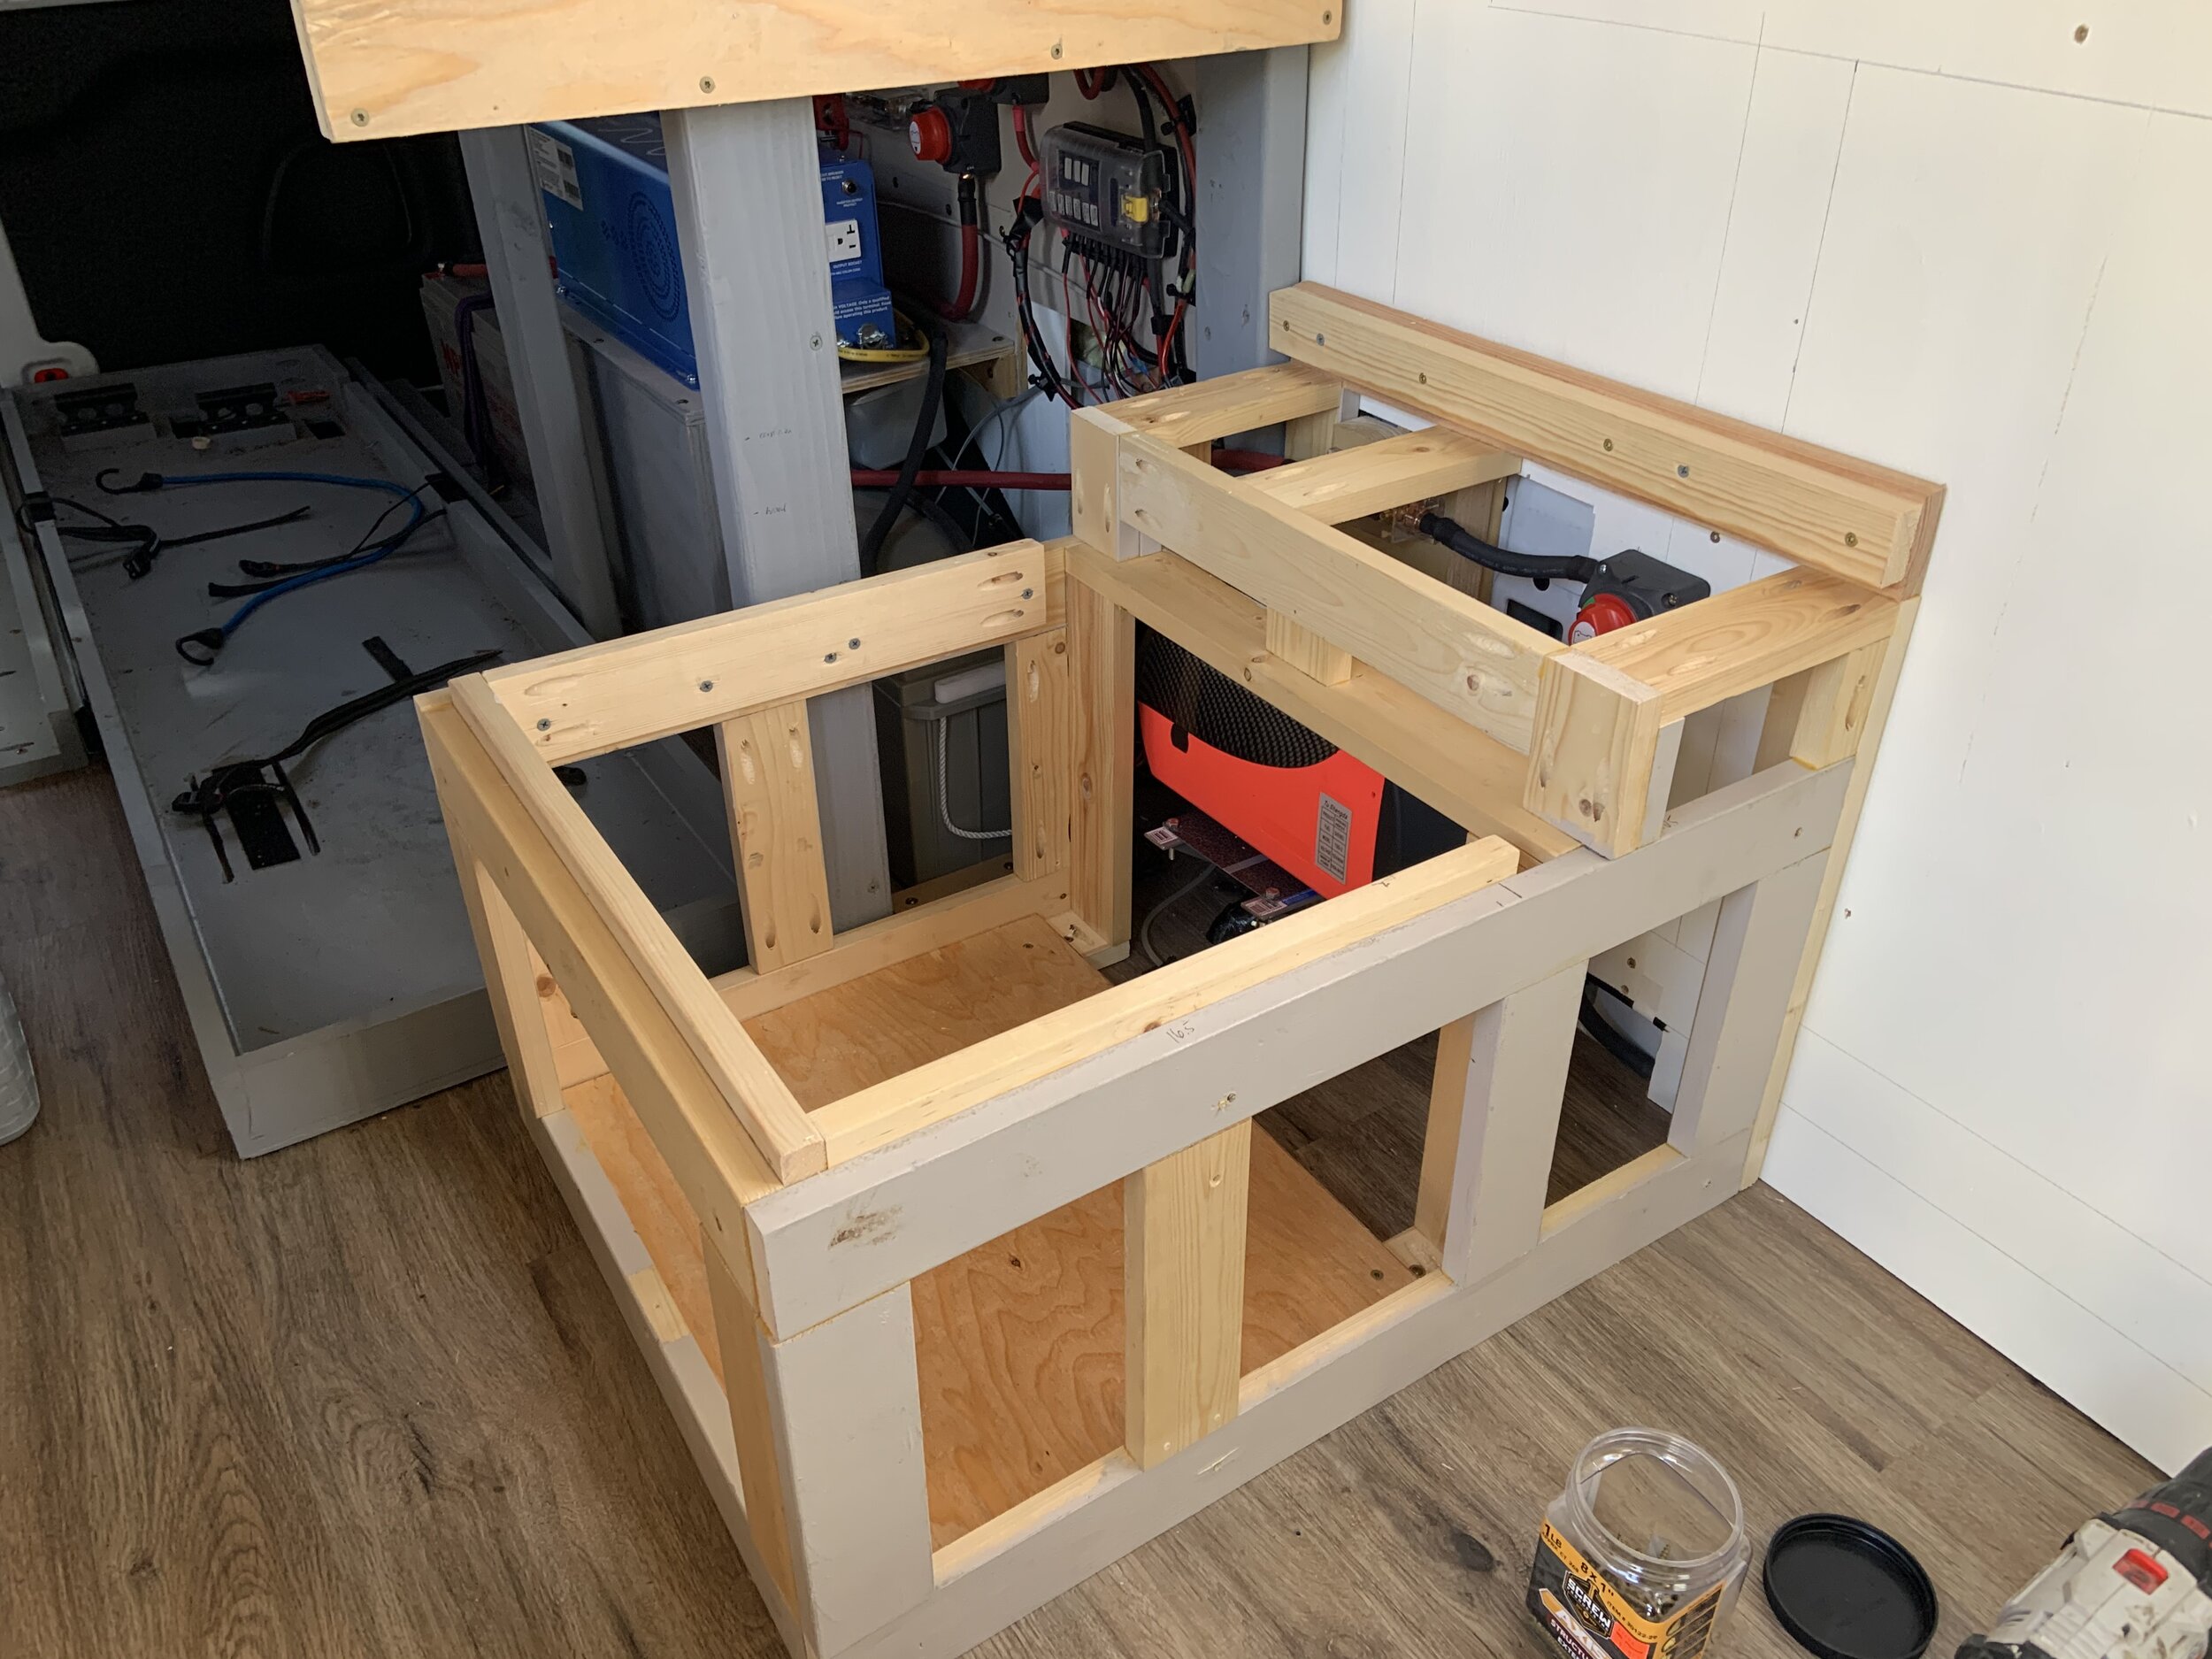
With all the high current 12V systems on the van I decided to make a 12V system power module to house all the shutoffs, fuses and major power cable junctions in an easy to get to location on the drive side wall under the bed.

With the batteries and inverter/charger units in place I could mount the diesel heater tank and shore power inlet junction box with a breaker. It was worth the time slowly laying out the electronics to provide access and clearance.

I made a wooden roof deck for sun bathing and starry nights and mounted it next to the solar panels.

One of our main storage features was a bike slider to provide useful indoor bike storage while on the road. The slider fits nicely under the bed frame and should fit out the back door when extended.

Laying out the bike slider so it clears the bed, electronics and storage space in the garage.

The garage and bed structure coming together. I also wired up 12V garage lights to use at night if needed.

The bike slider works like a charm!

The bed is supported by 2x4 beams to the floor and wall attaching screws into the wall structure. It's getting sturdy!

Adding in bracing for the bed for extra sturdiness.

The garage is complete! Bike storage, water storage, gear storage and quick access to the power electronics.

Meg and Maya approve of the progress :)

With such a small space we needed to use our space wisely. A small shotgun seat slash dinner seat would need to pull trip duty as a housing for a cassette toilet and the diesel heater.
Seat structure installed over the heater. The toilet fits nicely in the open space and is covered up by a top cover and cushion that is in the works.

Voila! Dinner/passenger seat toilet heater cover. The best part is, you would never know there is a hidden toilet under the seat.

Final touches on the kitchen area on the slider door side. We have a facet and sink with 5 gallon grey water tank, slide out drawer with a small fridge, a fold up cutting board, two drawers, a backsplash, and a storage unit for a slide out camping stove. Not a bad use of space!

On the exposed side of the kitchen unit I added a folding shelf and a small lower storage box.

Time to add in additional wall structure for the removable kitchen table that can be used a standing table as well.
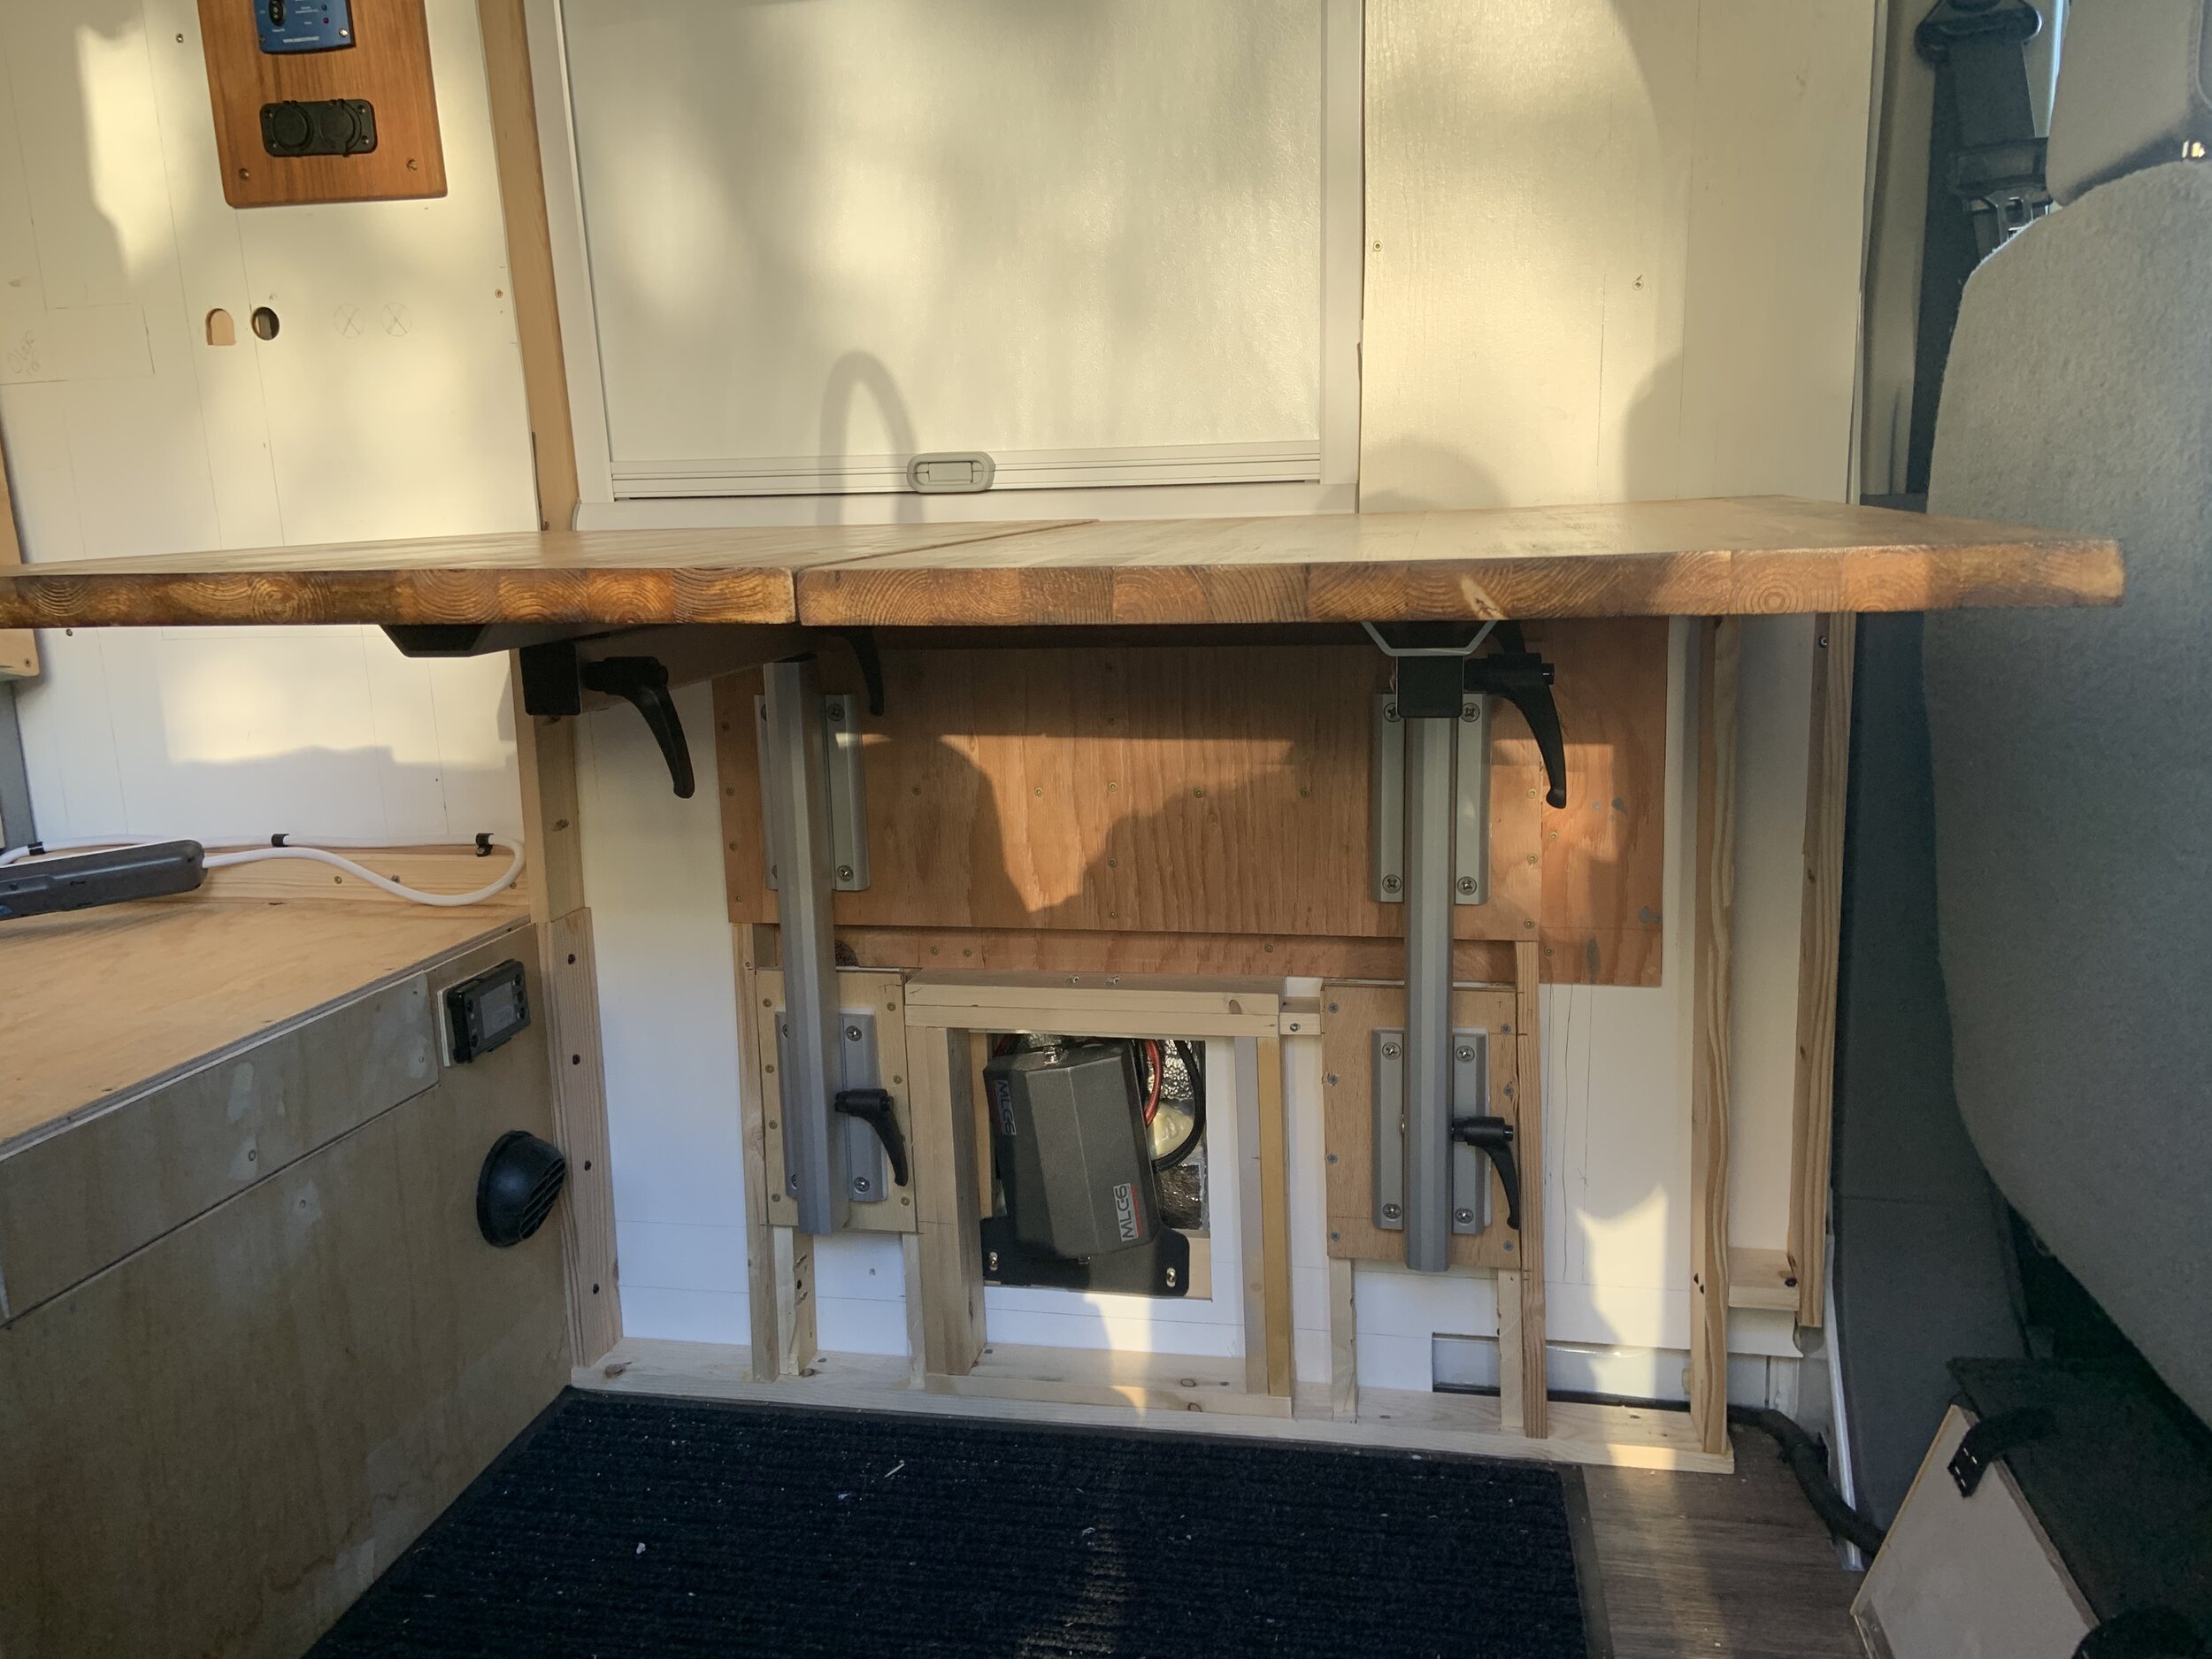
By adding in a second table we will be able to setup a long dinner table with the shotgun seat and the driver seat once the Scopema swivel assemblies come in.

Now it's time to start adding in the framed cabinet structure for food, clothing and electronic storage.

The cabinets are coming along and are now ready for paint.

Meg the master painter worked her magic on the walls and cabinets. We went with white to keep it as light and bright as possible.

Next was the addition of the shaker style cabinet door faces and the gas spring strut installs. We wanted to make sure the cabinets stayed locked during travel as well so I added 8lb door pull locks.

Garage and living spaces are coming along!

Meg chose a forest green for the lower section of the living space. She nailed the look and crushed the painting.

The kitchen green paint is complete and the self proclaimed beer shelf received some non-slip strips.

We stained the underside of the cabinets for a nice warm wood accent that matches the kitchen counter and ceiling wood planks.

Kitchen fully done and painted and ready for some scars from use.

With any project, taking time to reflect on the time spent, sweat lost and progress can be very rewarding.

The living space completed with jungle print green upholstered cushions, removable tables and driver seat trash can.

The propane system works great! The camp stove fits perfectly on the counter and the propane flow is regulated via a button on the front of the kitchen face. The propane tank is fully contained in a propane box in the garage with an outside vent.

The bead board walls with white trim turned out really well. We used a teak board to house the electronic monitors. The board was a piece of meg's granddad's old boat and adds in a warm family connection.

The swivel seat assemblies finally came in after 4 months of delays. The driver side install required a cut and drop of the emergency brake to allow for clearance and took 4+ hours. Time to drive backwards!

The family dinner table is now complete!

The bed is now in and the van is complete. Adventure awaits and we can't wait to hit the road.

The van taunts us from the street... adventure with me!!

Sweet bliss! Sleeping in the van is like sleeping outside in absolute luxury. Coffee in the morning, adventure all day, dinner at night and a warm soft bed to crash in, what could be better?

Sleepy morning with the van in Northern California.

First major meal in the van: beer and tacos! Here's to more adventures in our transit van, cheers!